Seriously Playing – Part Two

My first experimental piece

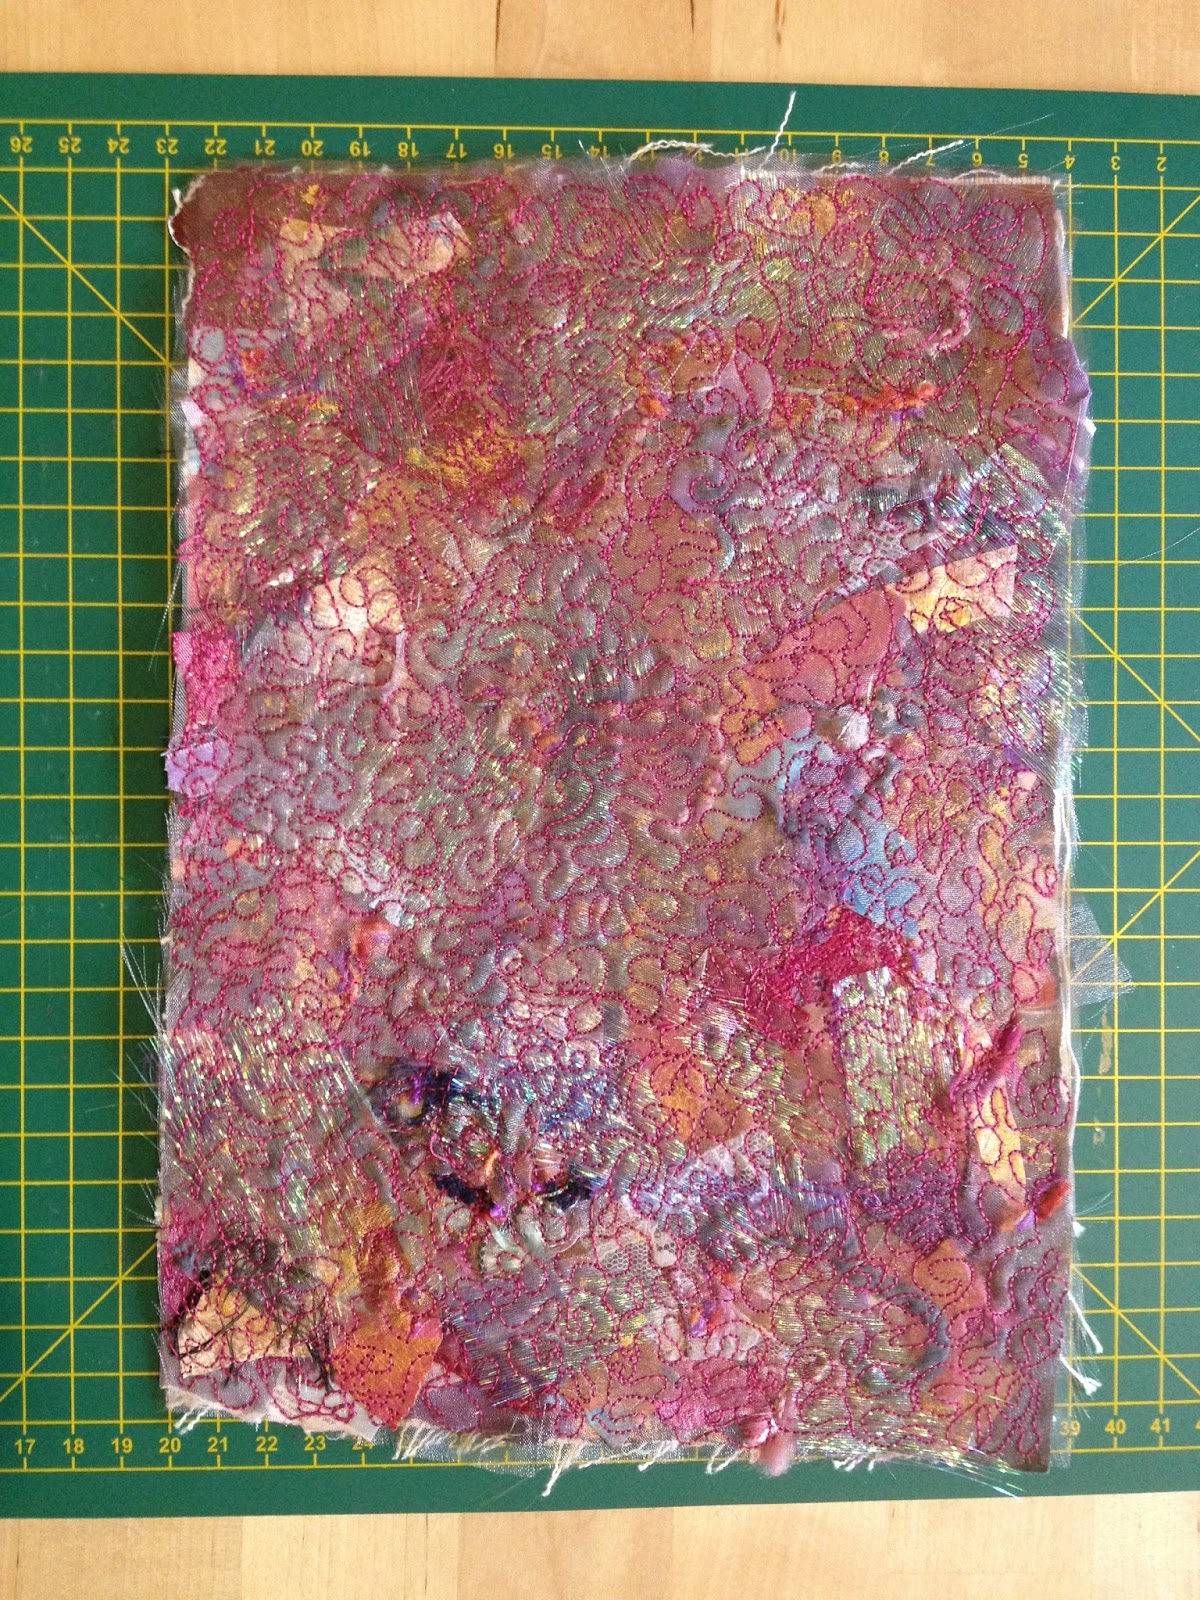
This was where we were at the end of my last post. I had finished stitching my first experimental piece of fabric. The next stage was to blast it with my heat gun to burn back some of the fibres.

First experimental piece after
blasting with a heat gun


I was very disappointed with the results after I had blasted it with the heat gun. Hardly any of the fabric had been burnt back. My theory is that the lack of burn back was due to the closeness of the stippled stitching: I think there was insufficient room for the heat to build up and/or for the fabric to burn back. In view of that theory, I began work on my second and third attempts.

As with my first play session, I laid a background of papers and topped it with a layer of fabric scraps, ribbon and so on. I lay a piece of organza across the prepared piece and trotted down to the sewing machine. I did just enough free motion stitching to ensure all loose pieces were lightly caught.

Second piece after being
lightly stitched


I blasted the stitched piece with the heat gun. This time the fabric burned back more successfully, which seemed to confirm my theory about the heavy stitching preventing burn back on my first piece.

Result of burning back the
second experimental piece

Although I was happy with the result of the heating process, the piece of fabric lacked any ‘body’ or stiffness. Accordingly, I lay more papers, fabrics and bits and pieces across it. One ingredient I have omitted to tell you I have used throughout this entire playtime was scraps of painted Tyvek fabric, some of which I included at this stage.

During preparation of the second
stage of the second piece


At this stage, I dug out some sparkly gold cord [or yarn, I’m not sure exactly what it is!] and threw some chopped up lengths on the piece. When I was happy with how it looked, I placed a piece of organza over it and secured it in place. Woohoo! After having struggled carefully between my craft room and my sewing machine several times, I had a brainwave! Humungous paperclips!

Can you see the huge paperclips
around the edges?


Is this girl brilliant? Or is this girl brilliant? The huge paperclips work a treat! They held the edges together along their entire length of 7 cm, so they really were ultra-useful. Also, I was able to stitch fairly close to them which meant I wasn’t struggling to keep all the bits and pieces in place. I kept the stitching to a minimum on this layer, also, because of wanting to be able to burn fibres back.

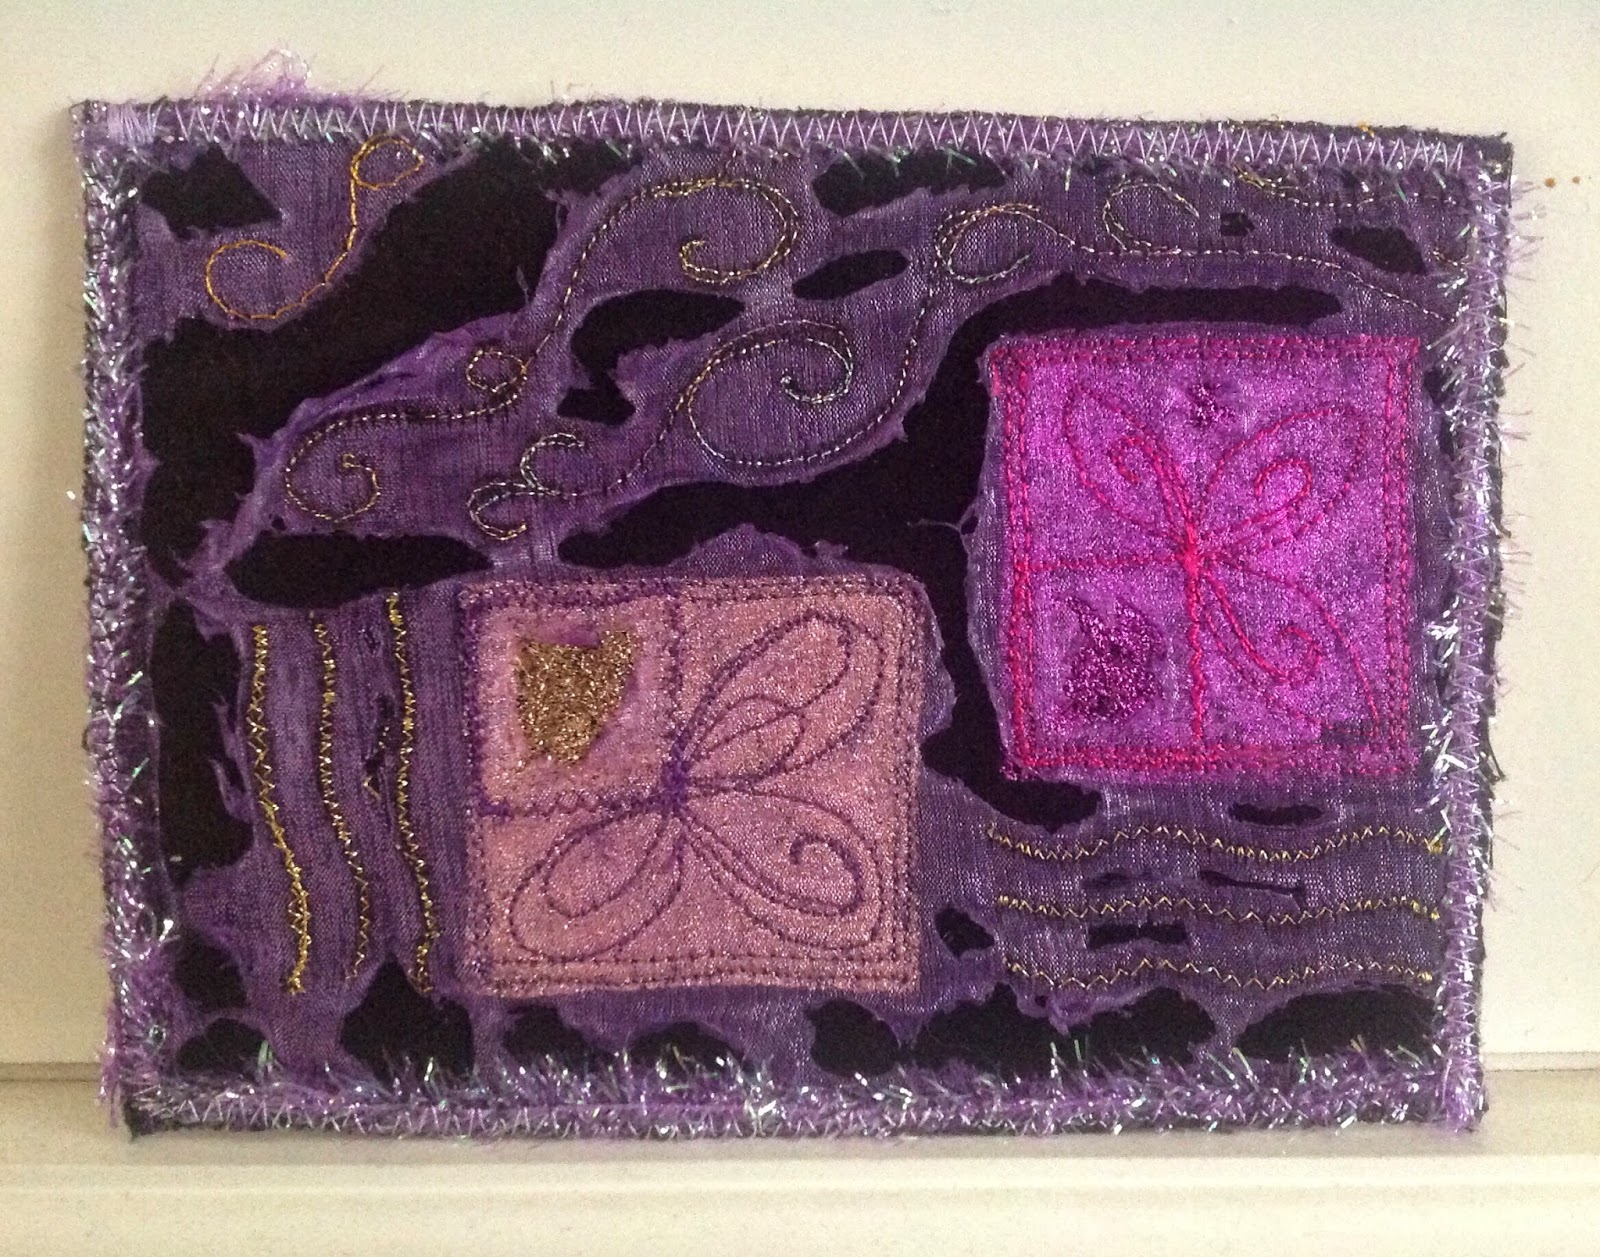
My second piece after being blasted
by the heat gun


This is how the second piece looks after stitching and burning back. It has a very different appearance and character to my first experimental piece.

Detail showing result of light
stitching and heating

An edge of the second piece showing
successful burning back of fabric

As you can see in these two pictures, I was more successful when burning back the fibres on the second piece. A similar result was achieved in my third piece, as you can see below. However, both the second and third pieces are insufficiently firm for me to make a box from them, so it’s back to the drawing board!

Results of second and third
experimental pieces

Details of corners of second
and third pieces


Seriously Playing – Part One

Postcard from Jane


Recently I have been doing some serious playing. Well, there’s no point playing if you’re not going to do it seriously, is there? Let me start by explaining why I’ve been spending time playing.

Postcards from Sheila and Irene


At the end of last year I received handmade postcards from several members of the Be Creative group that I belong to. They had decided to send me some postcards because of the health problems I was having. I had no idea that I had been chosen until the cards began to arrive: it gave me such a thrill to know that they wanted to send them to me! All of the postcards were beautiful and graced our mantle shelf until just a couple of weeks ago. 

Postcard from Liz
Postcards from Wendy and Jan

In fact, they are so beautiful that I decided they needed to be stored in a special box: the trouble was, I didn’t have a special box! “Aha!” thought I, ” I’ll make one”. I had seen a photograph of an exquisite box posted on Facebook by one of the group members which was what gave me the idea. The next step was to figure out how to make something even vaguely similar.

Bits and pieces to play with


I must stress, at this stage, that I have no real idea of how to achieve what I am after. It has taken me since the beginning of the year to figure out how to even start, but start I have. I knew that I needed to create some sort of material or fabric that I could use to form the outside of the box and that I wanted to burn some of the fabrics that made up that material.

More bits and pieces

I began by gathering together all sorts of odds and ends which I could build up to create a fairly firm piece of ‘fabric’. Some of the things I grabbed were: painted pages from an old book;  torn out pages from magazines; coloured papers from my stash; scraps of handmade papers; cellophane sweet wrappers; plastic ‘foil’ wrappers; paint colour chips; damaged used postage stamps; scraps of fabric, lace, yarn and ribbon. I also used some fabric from my stash as a backing [I don’t know what type of fabric it is but I always describe it as something like a cross between canvas and calico] and some organza.

Starting to cover the fabric


The first step was to cover the backing fabric with torn pieces of the papers. The main colours I was using were blues, reds and purples, but I wasn’t restricting myself to only those: I knew I needed to add some flashes of contrast. I used small dabs of stick glue on the reverse of the papers so that they would hold in place.

The first layer is complete

When I had completely covered the backing, I began to add a second layer using the other scraps I had pulled together. At this stage, I decided that I wanted to just roughly cover the first layer: it would not matter if the first layer showed through in places.

I covered the entire piece with a single layer of organza and took it carefully to the sewing machine. This was a delicate operation as I had constructed the piece in my craft room, upstairs, and had to carry it to my sewing machine, downstairs! I lightly stitched all over my fabric, using freehand embroidery. The idea was merely to hold everything roughly in place.

The lightly-stitched second layer

The next stage involved added a third layer of scraps, again, just roughly covering what was already in place. I added another layer of organza and took it to the sewing machine.

My completed first piece


This time I stippled the fabric closely all over. As you can see, the organza plus the stippling has muted the pieces beneath which, I think, helps to blend everything into one visually cohesive fabric. Another benefit of the close stippling was to create a reasonably firm material to use in the creation of a box.


In Part Two I will tell you more about this piece and those that followed.