I’m Famous!

Yesterday Elizabeth and I went to Empress Mills in Colne, Lancashire, to a Demonstration Day. At this point I must admit that I couldn’t remember what form the demonstration was due to take – I was so excited at the thought of going that everything else went out of my head! Honestly, I am like a child in a sweetshop! 

Interesting and colourful
quilt design

Virtually the first thing we saw when we went into the Empress Mills Sewing Centre was this beautifully bright and cheerful quilt. Wouldn’t it be wonderful in a child’s bedroom?

Exquisite embroidered flowers made
by Irene Shackleton


The demonstrator, Irene Shackleton, had just finished demonstrating to a group of people and was chatting to some of them and showing various items. we wandered over to the table to look at some of her samples, thinking that there would be a break until she began again. But, no! Having chatted pleasantly to those around her, including us, she segued easily into demonstrating again. She was talking about various products such as InsulbrightFusible FleeceWarm and Natural wadding and stabilisers. Irene showed a wide selection of items that she has made and, most helpfully, told us which products she used in each. For example, the flowers above were made on her embroidery machine using water-soluble stabiliser. ** The stabiliser is washed away gently in cold water when stitching is complete.

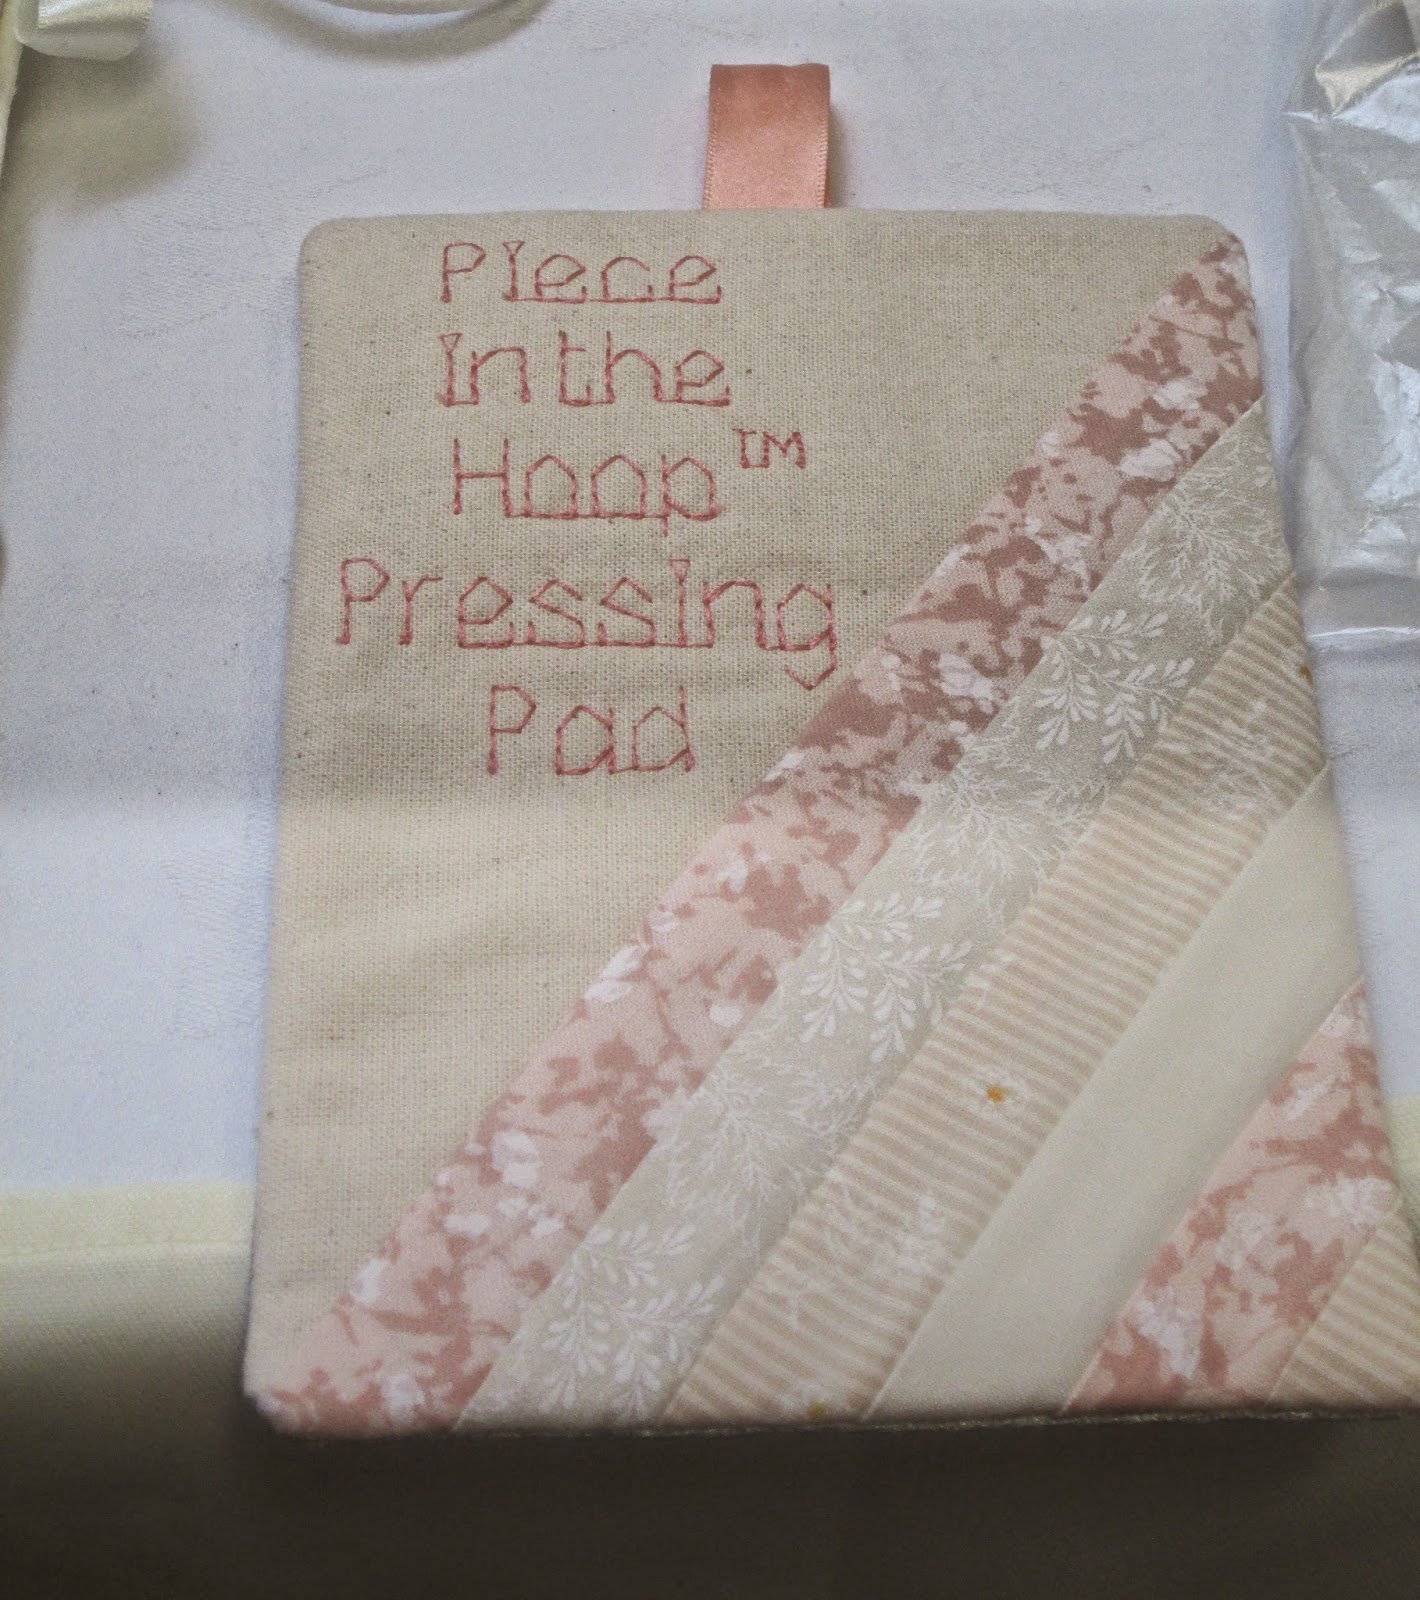
Decorated small pressing pad


Irene had not only made a very useful bag for carrying her iron (unfortunately the photographs I took of it were poor quality) but also a small pressing pad which she uses when stitching small projects. It is an ideal size using with a mini iron (not travel iron).

The working side of the
pressing pad

The pad is made from calico and decorative fabrics for the front, Insulbright inside and Luminex for the pressing surface. This pad, and the iron carrier, have gone on my ever-growing “To Do List”. I bought the Insulbright and the Luminex whilst we were at Empress Mills yesterday.

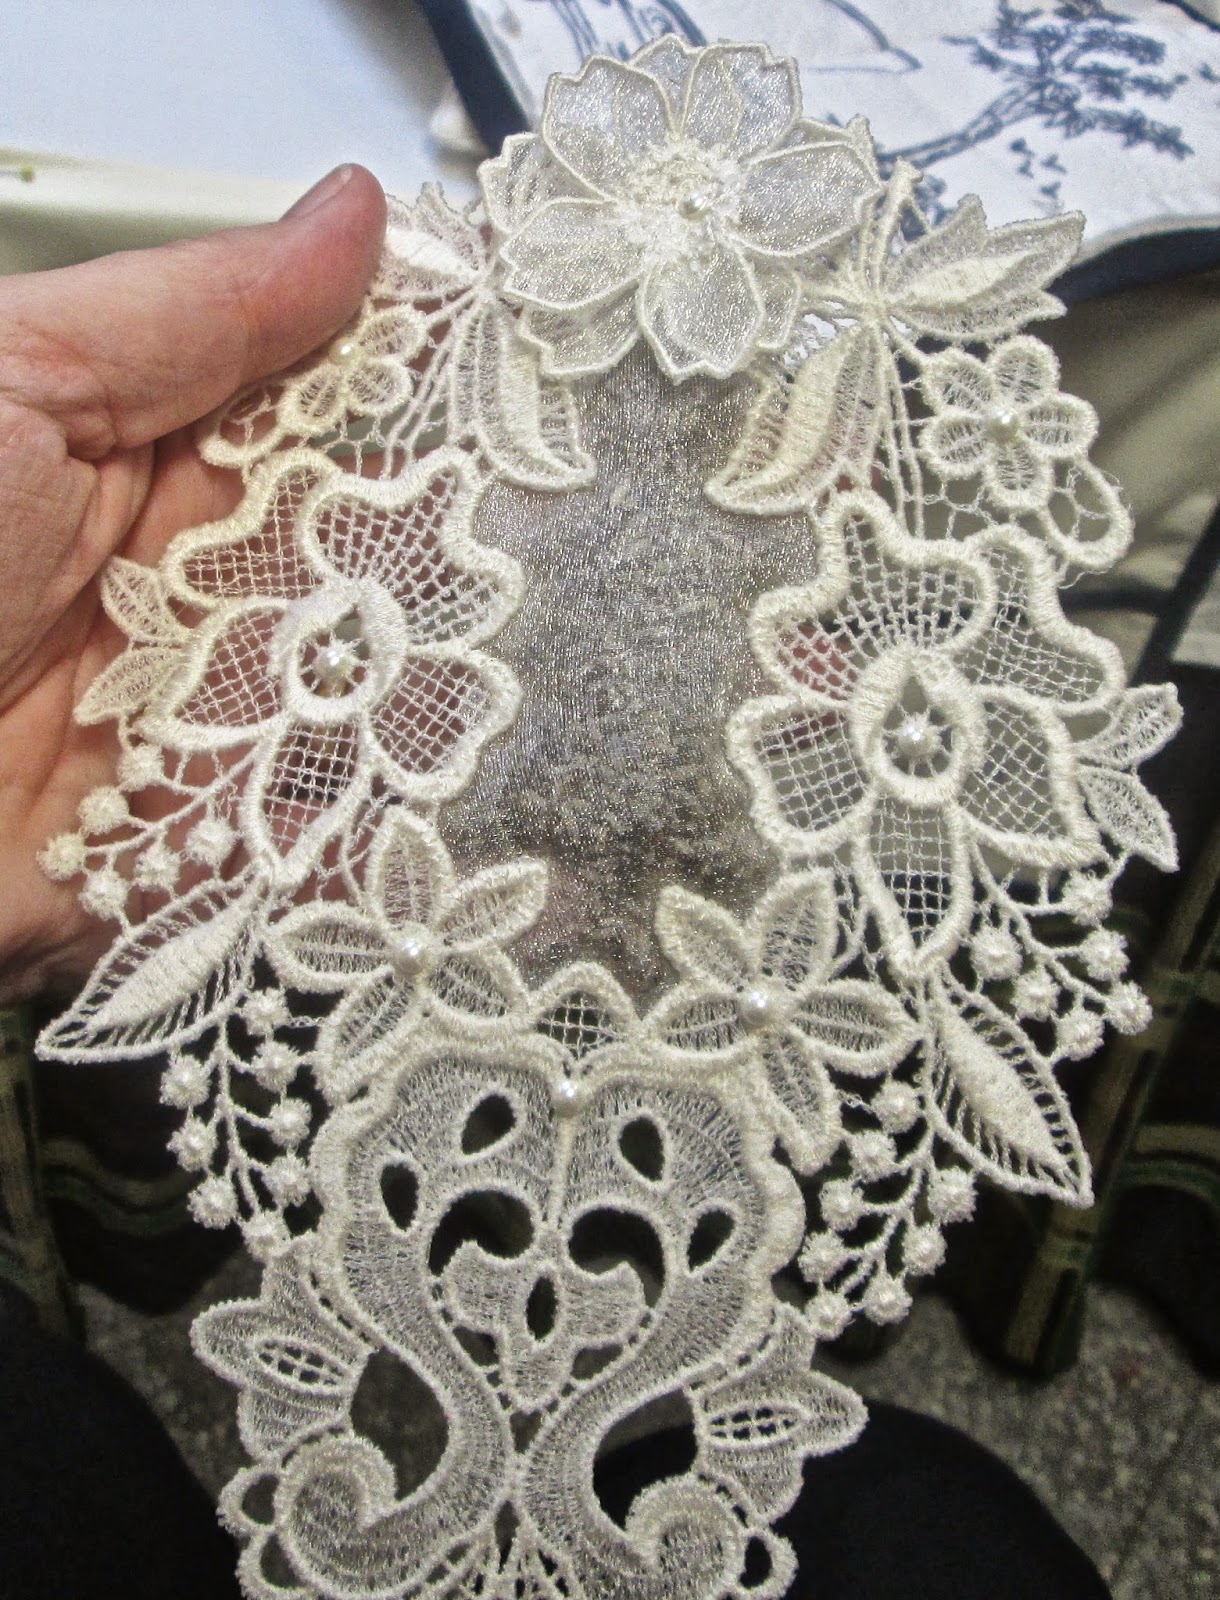
Free standing lace lavender
sachet


I must admit to not being a huge fan of machine-embroidery but Irene showed us some stunning examples. Her free standing lace (FSL) items were particularly lovely. I forgot to take any photos of the two Christmas window decorations she had made but I did manage to take one of this lavender sachet that she passed around. She made the FSL then attached two layers of organza in the centre to make the actual sachet, leaving a gap at the top. After filling the sachet, she stitched the top closed and added some organza flowers that she had made.

Beautifully embellished needle case

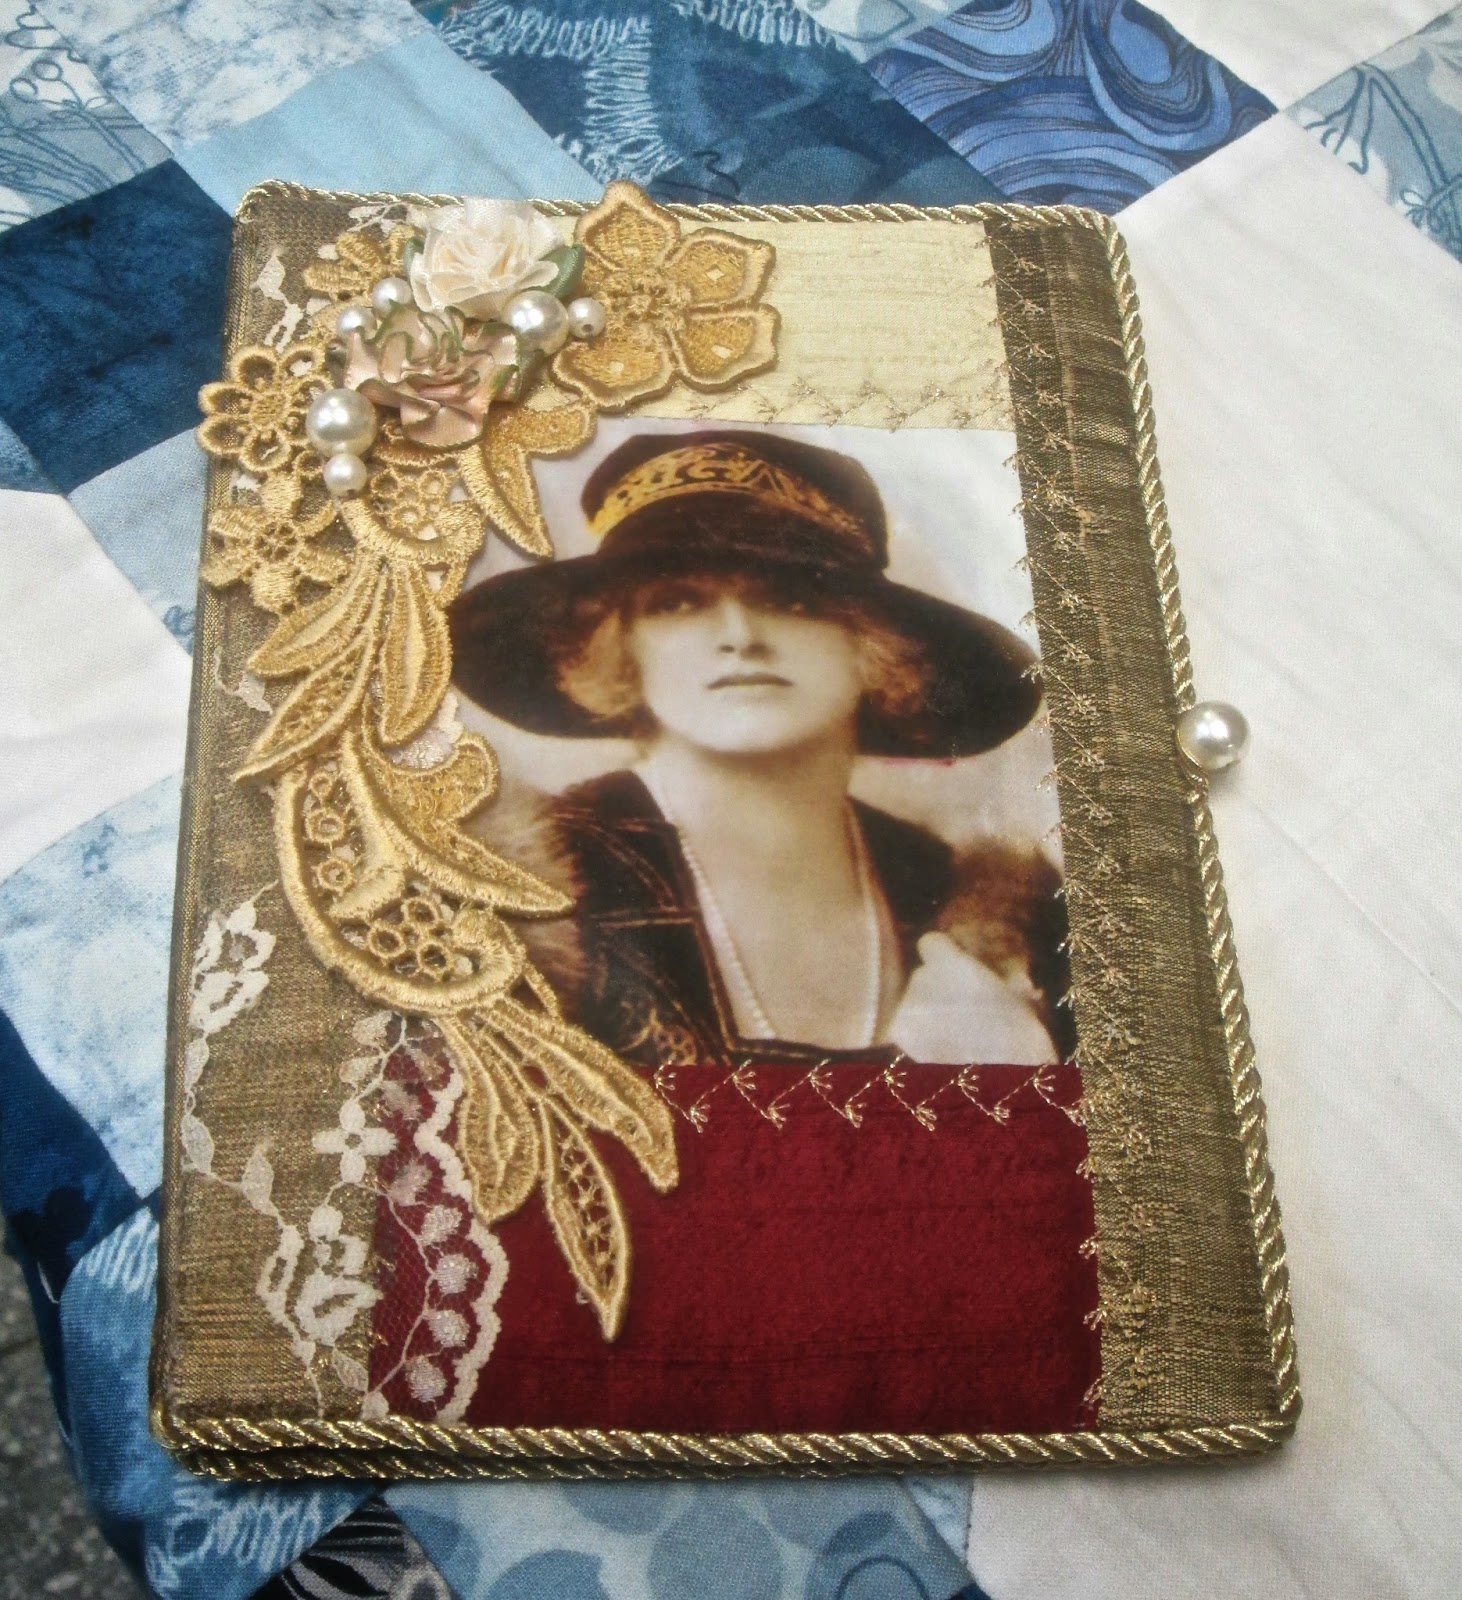
Other items that Irene had brought along for us to see included an hanging nappy store made in waffle cotton which she had embroidered and appliquéd onto, a Happy Birthday wall hanging, with detachable ordinal number (what a brilliant way to be able to reuse the banner year after year!), FSL angels made entirely with Empress Mills HT Poly under thread, notebook covers and cushions.

Cushion cover with faux couching


The cushion cover above was embroidered on Irene’s machine with gold thread wound onto the bobbin and the HT Poly underthread in the top of the machine. It is embroidered face-down so that progress cannot be seen – scary to do, I should imagine. The effect achieved almost looks like couching. It was certainly interesting!

Empress Mills and Irene put on a lovely Demonstration Day. Refreshments, including delicious chocolate caramel biscuits, were provided free of charge and, as always, the staff were friendly, knowledgeable and helpful.

Oh! I forgot to tell you how it is that I am famous! Oops.

Near the start of Irene’s demonstration she asked my name. When I replied that my name was/is Dina someone [unfortunately I didn’t catch her name ***] called to me and asked if I was Bossymamma! I said Yes and she told me that she has read my blog and seen me on the Shortcuts to Sewing forum. We commented on the ongoing difficulties with posting on that forum and I told her that a new forum has been set up so that members will be more easily available to post. 

The new forum is called Sewing Shortcuts. It is open to anyone who is interested in sewing and textiles. It’s a place for exchanging ideas, passing on information, seeking or offering hints and tips and much more sewing-related stuff. And, it’s free to join.

Sewing Shortcuts


** Quick tip from Irene: 
When embroidering on towels, instead of using the fabric-like water-soluble stabiliser on top of the towel, using the one that looks and feels like plastic film.

*** I have now discovered that her name is Jennifer and she has joined Sewing Shortcuts! Welcome to the new forum, Jennifer!

Trying New Things Just for the Sake of it

I recently created a tutorial for Fluffy Sheep Quilting showing how to sew a bag for a table gift at Christmas dinner.

I had never put together a sewing tutorial before but decided to challenge myself. Earlier this year I made my first log cabin quilt – which I called it ‘Tumbledown’ because if it had been a real log cabin it would have tumbled down – which was another new challenge.


Very soon after making the quilt I saw a competition online and decided to enter the quilt for it. I’m not sure why I entered but I think it was one of those ‘why not?’ moments. I have had ‘why not’ moments throughout my life and I have also had, and still have, a reckless habit of doing whatever the ‘why not’ is! [Why put one foot in it, when you can jump in with both?] Oh, and I entered a ribbon-wrapped button into another online competition.

 In view of what I’ve said above, it won’t be a surprise to know that I have entered another online competition. I’m not sure why I enter these things – perhaps it is to show support for the people running the competitions, it certainly can’t be because I think I have the remotest chance of winning as I am all too aware of my shortcomings in the creative department. Anyway, enter I have, so now it’s down to you!

The latest competition is a Christmas craft competition run by Art of Crafts which I saw mentioned on Facebook. Entries are pinned onto the Art of Crafts Christmas Craft pinboard on Pinterest. This is where you come in. The winner will be the entry with the most ‘Likes’ on that board so I need you to ‘like’ my entry please. You don’t have to vote for me – that doesn’t really matter – but it would be lovely if you could have a look at the entries and so support the competition. Someone has put in the time and effort needed to organise the competition and it will only take a minute or two of your time to support it.


Christmas Gift Bag (for dining table present)


These small decorative bags are ideal for small gifts on the table at Christmas Dinner or other celebratory occasions.

*  *  *  *  *  *  *  *

Materials (makes 4 bags):

  • 1 Fat Quarter of Kona Solid in Ruby
  • 1 Fat Quarter of Kona Solid in Basil
  • 44” (112cm) Narrow ribbon per bag
  • 1 Small safety pin
  • Thread
  • Measuring grid or ruler
  • Rotary cutter or dressmaking scissors
  • Dressmaking pins
  • Hand sewing needle
  • Sewing machine (optional)
  • A small gift

*  *  *  *  *  *  *  *

Instructions:

1.      Press both pieces of fabric to remove all creases


2.      Measure and cut a square with 8½ inch (21cm) sides from each of the two fabrics

 
3.      Pin the two squares together with right sides facing leaving a gap of 2½ to 3 inches (6 to 7.5 cms) along one side, marked by two pins at each end, for turning fabric inside out after stitching.

 
4.      Using a straight stitch, stitch the two squares together starting and finishing at the pins marking the gap and leaving a ¼ inch (5mm) seam allowance all round.


5.      Snip off each corner to reduce bulk

 6.      Turn the bag inside out so that the right sides of your fabric are on the outside. Take particular care to ensure the point of each corner is neat.
7.      Neatly secure the gap closed using slip stitch.


8.      Press well.


9.      Decide which of the fabrics is to be the outer and which the inner of your bag.


10. Optional: Sew a decorative stitch all around the square near the edge of the fabric.


11. Lay the bag down with the outer side fabric uppermost.
12.  Fold each corner over about 2½ inch (6.5cm) from its point so that the inner fabric is showing.


13. Stitch along each folded corner leaving a 3/8” seam allowance to create a channel for the ribbon. Do not stitch along the edges where the outer fabric still shows uppermost.


14. Take the 44 inch (112 cm) length of ribbon and cut into two 22 inch (56 cm) lengths.
 

15. Using the safety pin as a guide on the end of the first piece of ribbon, thread the ribbon through the channels. Stitch or tie the ends together to secure.


16. Thread the second ribbon through the channels, starting directly opposite where threading of the first piece was begun. Stitch or tie the ends to secure them together.

17. Place your gift in the bag.
 

18. Holding one ribbon in your left hand and the other in your right, pull the two ribbons apart to tighten the top of the bag.
 

19. Tie the two ribbons into a bow.
 

20. Your gift bag is complete.


*  *  *  *  *  *  *  *


I’ve Been a Bit Quiet Lately

I’ve been rather quiet on the blogging front lately. I apologise for this but there have been some problems with the health of a couple of my family which have meant that I’ve been busy and preoccupied.

I have been away but am now back at home and trying to catch up with myself [and the laundry!!!].

However, I do have a little snippet [I wonder if I should call it a ‘snippette’?] of news for you. Today saw the publication of a tutorial I wrote recently in exchange for a couple of Fat Quarters of fabric. It is in the newsletter which is circulated by Cindy at Fluffy Sheep Quilting. If you receive the newsletter you will see my tutorial for a Christmas Gift Bag – I will post it on here soon. The bags are really easy to make and are a great addition to the dinner table at Christmas.

I went to the quilt show at Threlkeld in the Lake District today – well worth the visit. There was some stunning work on show – quilts, embroidery and various small stitched items – and I picked up lots of ideas. As usual, all I need now is time to try them all out!